
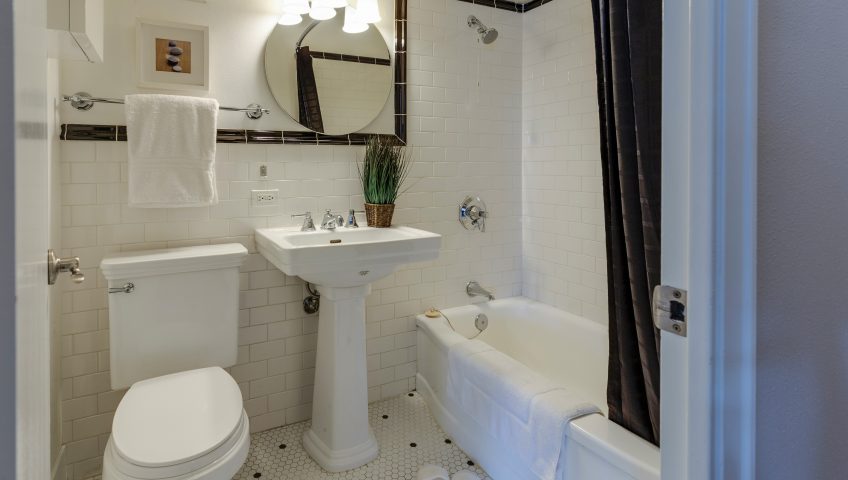
A finished small bathroom feels effortless — a new vanity that fits the space perfectly, tile that lines up cleanly at the corners, a fan that actually clears the mirror fog in under a minute. What most homeowners never see is the sequence of decisions and quality checks that got it there. Understanding how small bathroom renovations on a budget actually unfold, step by step, is the best way to avoid surprise costs, mid-project delays, and that sinking feeling when a wall gets opened up and reveals something nobody planned for. This guide walks through the real process professionals follow, so you know what’s happening behind the scenes at every stage — and why each stage exists in the first place.
Before Construction Starts
The work that happens before a single tile is pulled up is what actually determines whether a small bathroom renovation stays on budget. A good contractor starts with a walkthrough of the existing space — checking the subfloor for soft spots near the toilet flange, looking at water stains on the ceiling below (if there is one), and testing water pressure and drainage. They’ll also check that the exhaust fan is properly vented to the exterior rather than dumping moisture into the attic, which is a surprisingly common issue in older Covington and Slidell homes and one that’s much cheaper to correct now than after finishes are installed. This is also when you talk honestly about scope: are you keeping the tub-to-shower footprint the same, or reconfiguring plumbing locations? Keeping fixtures in their existing locations is one of the biggest cost-savers in small bathroom renovations on a budget, because it avoids relocating drain lines and supply pipes, both of which involve opening walls or floors that would otherwise stay closed.
Once scope is set, selections come next: tile, vanity, fixtures, paint, and hardware. In a small bathroom, material selection matters more than square footage — a single large-format tile or a well-chosen vanity can make an 8×5 room feel intentional rather than cramped. Smaller footprints also mean you can sometimes afford a nicer tile or fixture than you could in a larger room, simply because you need less of it. This is the stage where a contractor will talk through trade-offs honestly: a floating vanity might visually open up a tight room but can cost more in blocking and installation labor than a standard base cabinet, while a simple subway tile with a contrasting grout line often looks more custom than an expensive mosaic laid poorly.
This is also the stage where your contractor orders long-lead items — custom vanities, certain tile lines, or specialty glass — so they arrive before demo starts rather than stalling the project mid-way with a half-finished bathroom and no working toilet. Nothing derails a renovation timeline faster than a crew ready to install and no material to install. If any part of the work touches electrical circuits, ventilation, or plumbing rough-in, permits get pulled here — this isn’t optional paperwork, it’s what protects you if there’s ever an insurance claim, a warranty dispute, or a future sale inspection where unpermitted work can hold up closing. Scheduling is finalized last, once materials have confirmed delivery windows, because locking in a start date before you know when the vanity actually ships is how projects end up with expensive idle labor days.
Preconstruction communication also covers the practical living logistics: will you have a second bathroom to use during the project, where will the crew park, and what time each day will work start. These sound minor, but they’re the details that make a multi-week renovation feel manageable instead of chaotic for a family living in the house the whole time.
The Professional Process, Step by Step for Small Bathroom Renovations on a Budget
Once materials are on hand and permits (if needed) are approved, the physical work follows a predictable order. Skipping or reordering these steps is where corners get cut on lower-quality remodels, so it’s worth knowing what should happen and roughly when.
Protection first. Floors leading to the bathroom, adjacent trim, and HVAC vents get covered before anything is demoed. This isn’t cosmetic — dust from tile demo travels farther than most homeowners expect, and fine dust in an HVAC return can end up circulating through the whole house for weeks if vents aren’t sealed off properly.
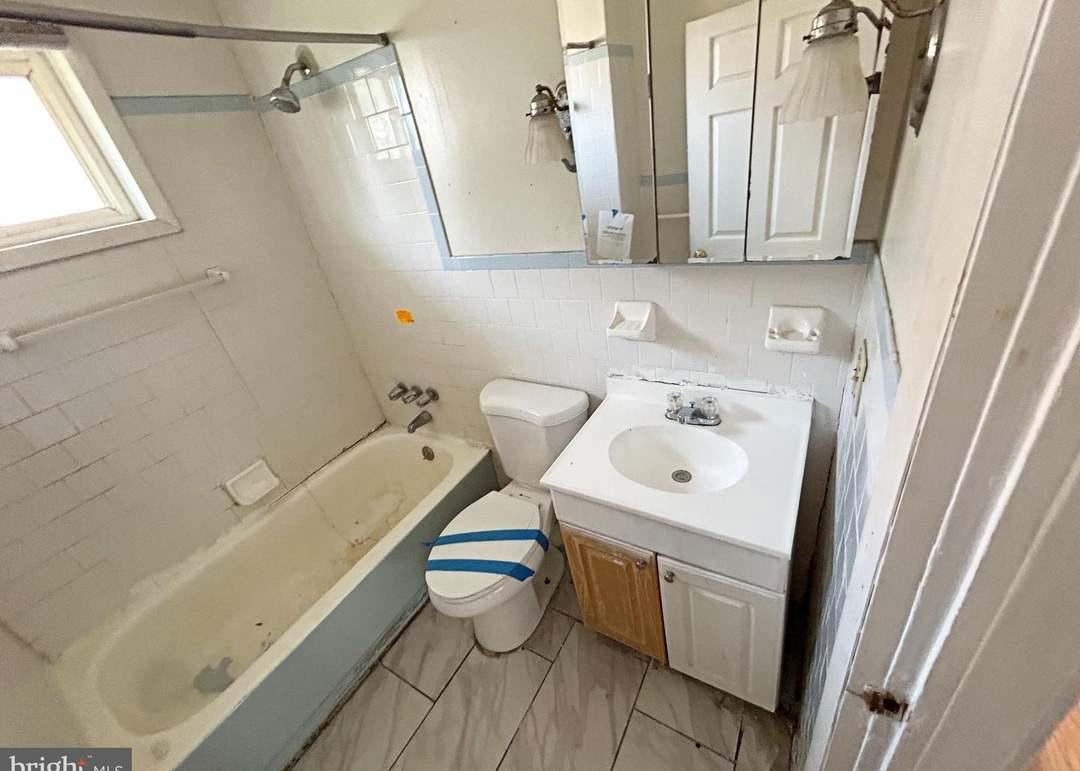
Demolition. Old tile, vanity, toilet, and sometimes flooring come out. A good crew demos carefully enough to inspect what’s underneath — subfloor, wall studs, and any existing plumbing — before covering it back up. This is also the point where a contractor will photograph what’s behind the walls, both to document existing conditions and because you genuinely never get another chance to see that layer once it’s closed up again.
Rough work and inspections. If the scope includes moving a supply line, adding a GFCI circuit, or rerouting a vent fan duct, licensed trades handle that work now, and it’s inspected before walls close up. This is a code-required checkpoint, not an optional step, and it’s one reason DIY plumbing or electrical relocation in a bathroom is a genuine safety and legal risk rather than just a skill gap — a bathroom combines water and electricity in close proximity, which is exactly why GFCI protection and proper bonding exist as code requirements in the first place.
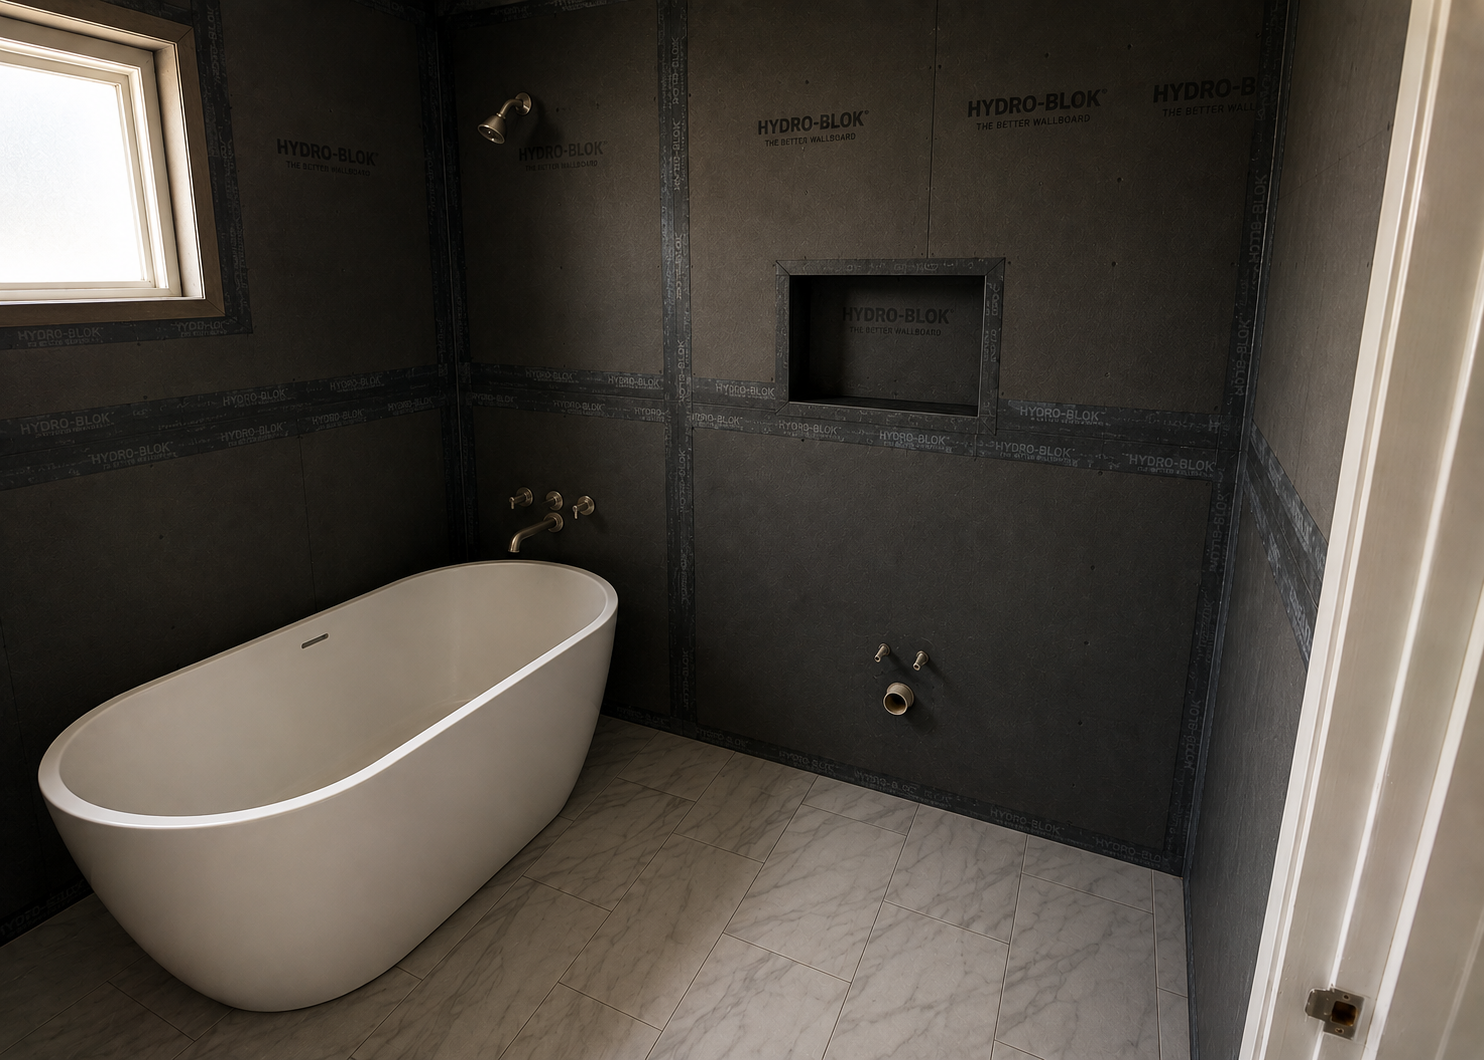
Substrate and waterproofing prep. Walls around the tub or shower get a proper backer board and waterproofing membrane before tile goes up. This layer is invisible in the finished photos but is the single biggest factor in whether a shower lasts 5 years or 25. Corners, seams, and any penetrations for the shower valve or niche get extra attention here, since those are the spots where water intrusion typically starts.
Installation. Tile, flooring, vanity, toilet, and fixtures go in, generally in that order — floors before vanity, vanity before final plumbing connections. This sequencing avoids cutting tile around a vanity that’s already set, which produces cleaner lines and means the vanity doesn’t have to be pulled back out if a plumbing connection needs adjustment.
Finishes and cleanup. Caulking, paint, hardware, mirror, and final fixture trim happen last, followed by a full site cleanup. Small details — the direction of the toilet paper holder, the reveal gap under a vanity, the sheen of the paint in a humid room — get finalized in this last stretch, and they’re what make a bathroom feel finished rather than just functional.
What Homeowners Will See at Each Stage
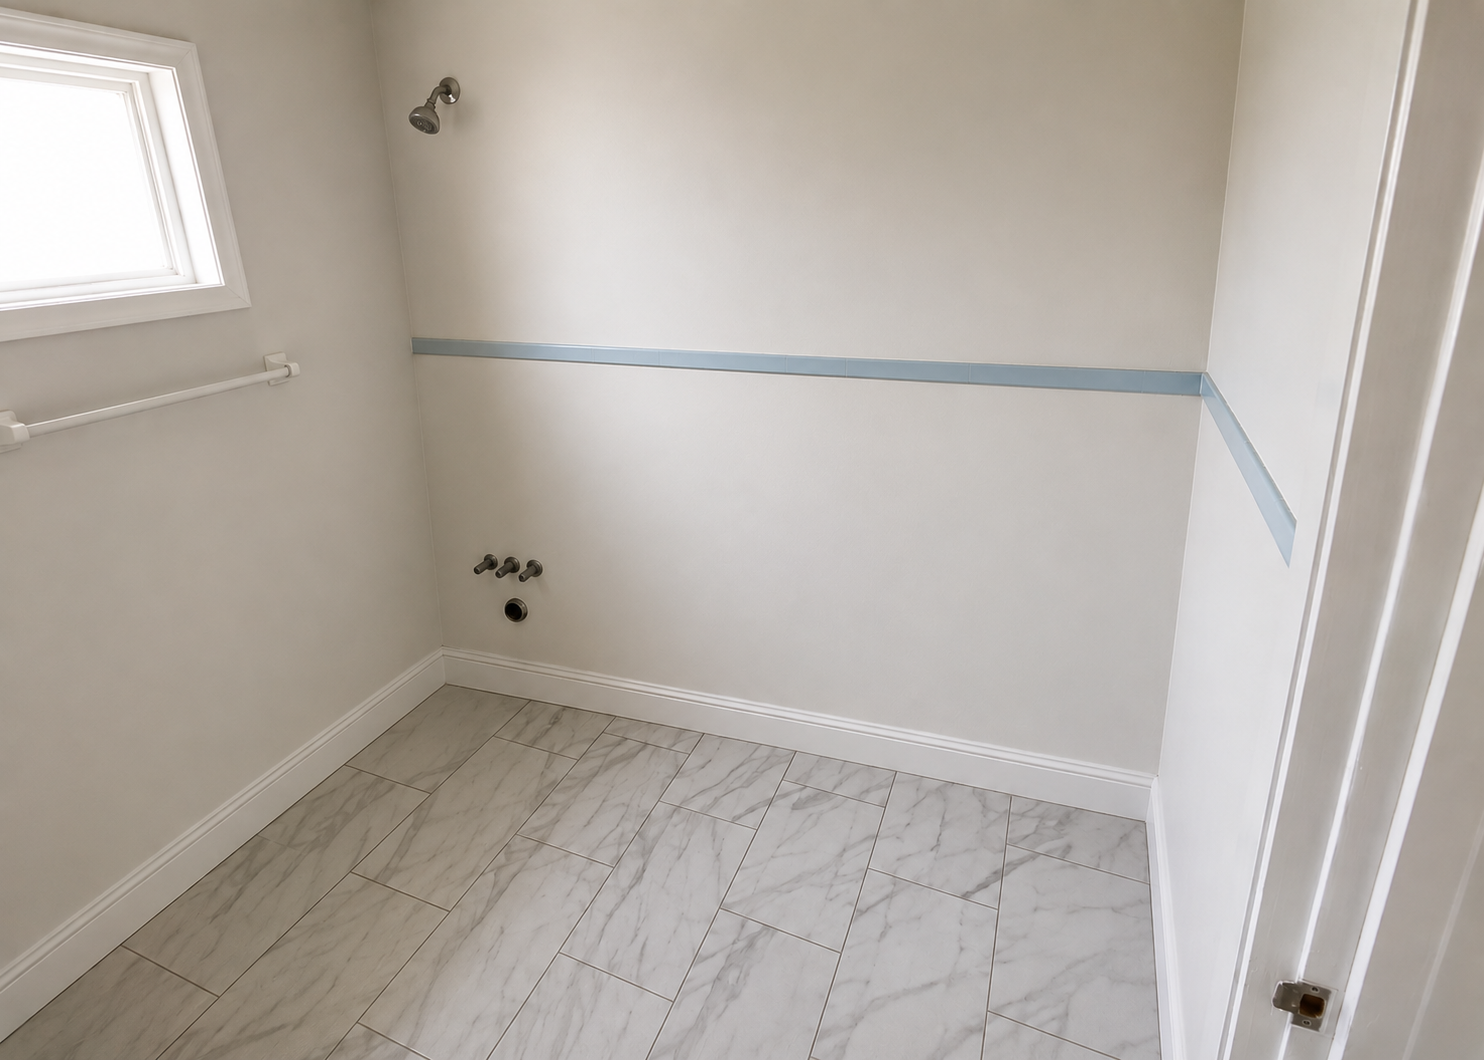
Mid-renovation, a bathroom looks worse before it looks better — that’s normal, not a warning sign. After demo, exposed studs, subfloor, and capped plumbing lines are expected and don’t mean something went wrong. It can be unsettling to see your bathroom reduced to bare wood and pipe, but this is exactly the state a contractor needs it in to evaluate what’s really there. During rough-in, you may see wires or pipes that look “unfinished” for several days while inspections are scheduled — this waiting period is normal and reflects proper process, not a stalled job. Inspectors in Louisiana parishes often have a scheduling window of a day or two, and reputable contractors build that into the timeline rather than skipping the step to keep things moving.
Once backer board and waterproofing go up, the room will look plain and gray for a bit before tile transforms it — this stage often surprises homeowners because it can look like very little has happened despite days of careful work. Tile installation is often the most visually dramatic stage, since the room finally starts to look like the finished space, but grout, caulk, and fixtures still need days to complete afterward, and thinset needs time to cure before grout goes on top of it. Knowing this sequence in advance helps homeowners judge real progress instead of panicking over a room that still looks unfinished at the 70% mark, when in reality the hardest and most important work is already behind everything you can see.
Quality Checkpoints That Matter
A handful of checkpoints separate a bathroom that looks fine at handoff from one that performs well for years. Substrate condition is checked before covering — soft or uneven subfloor gets addressed, not tiled over, because tile installed over a flexing subfloor will eventually crack no matter how well it was set. Waterproofing in wet areas should be tested — a flood test on shower pans, for example, where the pan is filled with water and left for 24 hours to confirm there’s no leak — before tile installation ever begins. Skipping this test is one of the most common shortcuts on lower-bid remodels, and it’s also the one most likely to cause an expensive failure years down the road, hidden behind finished tile.
Tile spacing and level are verified with actual measurements, not eyeballed, especially at inside corners and around fixtures like the toilet flange and shower valve, where a slightly off layout becomes very visible. Manufacturer installation instructions for waterproofing membranes and grout products are followed precisely, since warranty coverage often depends on it — the Tile Council of North America’s installation standards are the industry reference most professionals build against, covering everything from substrate flatness tolerances to appropriate thinset coverage. Every electrical and plumbing connection touching code-regulated systems is inspected by the local jurisdiction before it’s covered, which is a safeguard for you as the homeowner, not just a hoop for the contractor to jump through. And at the end, fit and finish gets checked in the room’s actual light — caulk lines should be straight and consistent, grout color and haze should be uniform, and vanity doors and drawers should open, close, and align without rubbing.
What Can Change the Timeline
Even well-planned small bathroom renovations on a budget can shift schedule for a few honest reasons, and knowing them in advance keeps a delay from feeling like a broken promise. Hidden conditions — rotted subfloor, old galvanized plumbing that doesn’t meet current code, or unexpected moisture damage behind a tub surround — sometimes surface only after demo, and require a pause to assess and quote before work continues. This is one reason experienced contractors build a contingency line into the estimate rather than pretending it won’t happen; older homes in the Covington and Slidell area, especially those with a history of humidity exposure, frequently have at least one surprise behind the walls.
Change orders, like deciding mid-project to upgrade a vanity, add a tile niche, or switch to a frameless glass shower door instead of a curtain, add both cost and time — not because the contractor is padding the bill, but because new materials often need to be sourced and the sequence of work may need to adjust. Material lead times for tile, glass, or custom vanities can push a start date even when labor is ready; specialty tile in particular can take four to eight weeks to arrive, which is why ordering happens well before demo. Inspections themselves take scheduling time with the municipality, not just the crew’s calendar, and a busy inspection department can add a few days even on a straightforward job. And waterproofing membranes, thinset, and grout all have manufacturer-specified cure times that shouldn’t be rushed, even when a homeowner is eager to use the space again — rushing grout before it’s cured, for example, can trap moisture and lead to cracking or discoloration within months.

Questions to Ask Your Contractor
A few pointed questions reveal a lot about how a contractor plans and executes small bathroom renovations on a budget. Will fixture locations stay the same, and if not, what plumbing work does that trigger? What waterproofing system will be used behind the tile, and is it tested before tiling? Which permits are required for this scope, and who’s responsible for scheduling inspections — you or the contractor? What’s the expected lead time on the vanity and tile I’ve selected, and does the schedule account for it? And what’s the plan if we find subfloor damage once demo starts — is that handled as a change order, or was a contingency already priced into the estimate? Contractors who answer these clearly, without vague hand-waving or a defensive tone, are usually the ones who run a tight, predictable job site. It’s also fair to ask to see photos of a similar-sized bathroom they’ve completed, since a small footprint has its own layout challenges that don’t show up in a larger remodel.

Final Walkthrough and Handoff
Before calling the project complete, you and your contractor should walk the finished bathroom together with a punch list — checking caulk lines, grout haze, door and drawer operation, water flow and drainage at every fixture, and fan performance. Any small items get noted and resolved before final payment, not promised for “sometime later.” You should also receive care guidance: how to clean new tile and grout without damaging the finish or the sealant, how often to re-caulk around the tub, and what ventilation habits protect your investment, such as running the fan during and after showers to keep moisture from settling into the new grout lines and paint. Keep any product manuals, warranty paperwork, and permit documentation together in one folder — you’ll want it if you ever sell the home, since permit records for bathroom work are often requested during a real estate transaction, or if you need warranty service on a fixture down the road. A final cleanup should leave the space genuinely move-in ready, not just debris-free — that means wiped-down surfaces, a functioning fan and light, and drawers and doors that have already been adjusted rather than left to settle.
If you’re weighing a DIY approach for parts of this process, a general remodeling resource like This Old House can help you understand scope, but bathrooms involve enough overlapping trades — waterproofing, electrical, plumbing — that even confident DIYers often bring in a licensed contractor for the wet-area and rough-in work while handling paint or hardware themselves. If you do plan to tackle some of the demo or finish work yourself, a solid cordless setup like the DEWALT 20V MAX Cordless Drill and Impact Driver Combo Kit makes quick work of removing old vanities and hardware, and for anyone cutting their own tile on a smaller job, the CHENYUCHAO 2300W Electric Tile Cutting System gives cleaner results than a rented saw. Just keep in mind that the line between cosmetic DIY and code-regulated work is exactly where the risk — and often the real cost savings — actually sits, so it’s worth being honest with yourself about which side of that line a task falls on before picking up a tool.
Plan Your Renovation With Barger Home Improvements
Small bathroom renovations on a budget succeed when the process is planned before the sledgehammer comes out — not figured out along the way. If you’re ready to talk through scope, selections, and realistic timeline for your space, reach out to Barger Home Improvements to schedule a walkthrough, or get a free quote to see what your project could look like. You can also browse our full remodeling services to see how we approach bathrooms, kitchens, and whole-home projects with the same careful process.